


Prepare the Cream Puffs Filled with Diplomat Cream
Prepare the cream. Pour half a cup milk into a bowl with the egg yolks, sugar, and cornstarch. Pour remaining milk into a pot with the vanilla extract and bring to a boil.
Pour some of the hot milk into the egg-yolk mixture and whisk well. Add the rest of the milk and whisk well. Return to the pot and cook over medium heat for two to three minutes, whisking vigorously, until slightly thickened. Remove from heat. Cover the cream with plastic wrap and cool slightly.
Meanwhile, in the bowl of an electric mixer, beat heavy cream or whipped topping until stiff. Fold milk-egg mixture into cream. Transfer to a piping bag fitted with a small star tip (or no tip).
Bake and assemble the cream puffs: Preheat the oven to 375 degrees Fahrenheit (190 degrees Celsius).
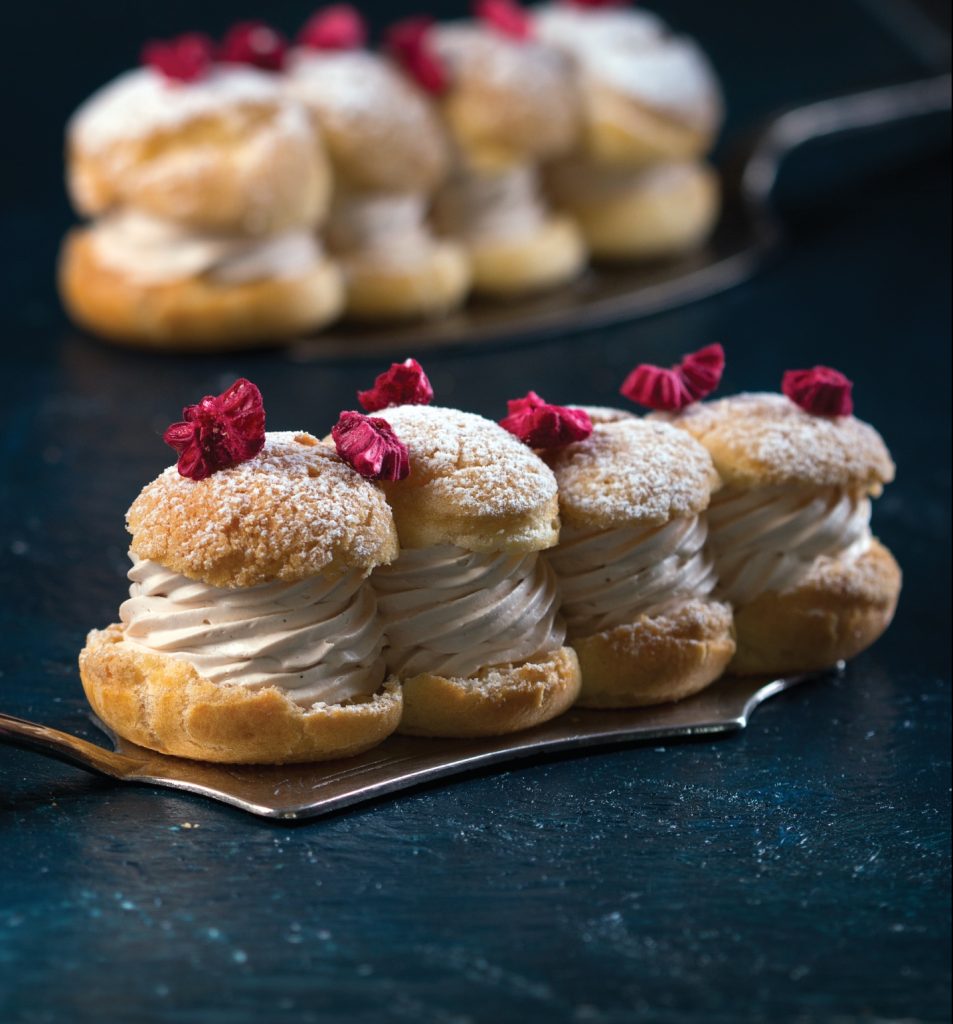
Transfer the cream puffs as directed, but instead of piping individual puffs, pipe rows of four small adjacent cream puffs on a baking sheet and bake as directed.
Cut the cream puffs in half and fill with diplomat cream using a piping bag. Sprinkle with confectioners’ sugar and serve. The cream puffs can be stored in the freezer for a month, without the filling.


Photos from Our Community
See how these recipes turned out in real kitchens. Photos from home cooks will appear here as they're shared.
Tell Us How It Went: Share Your Experience
Your review could help someone decide what's for dinner tonight. Log in to join the conversation.
Log in to join the discussion0 Comments
Do you want to rate this post?
Edit your rating
Choose a new star rating and save it.
Moderation
Report
Kosher Comments
Kosher Comments
Add a link
Posting comment
Your comment will be posted in a moment...